The Stock Opname feature allows you to perform physical inventory counts and adjust your system stock to perfectly match the actual items available in your storage locations.

1. Stock Opname History
The main dashboard displays a complete log of your previous inventory counts:
- Data Table: Review past sessions by checking the Date, Location, Notes, Status (e.g., Completed), and Performed By (the user who did the count).
- Actions: Click the Eye icon to view the detailed results of a past stock opname.
- + New Stock Opname: Click this dark green button at the top right to start a new physical count.
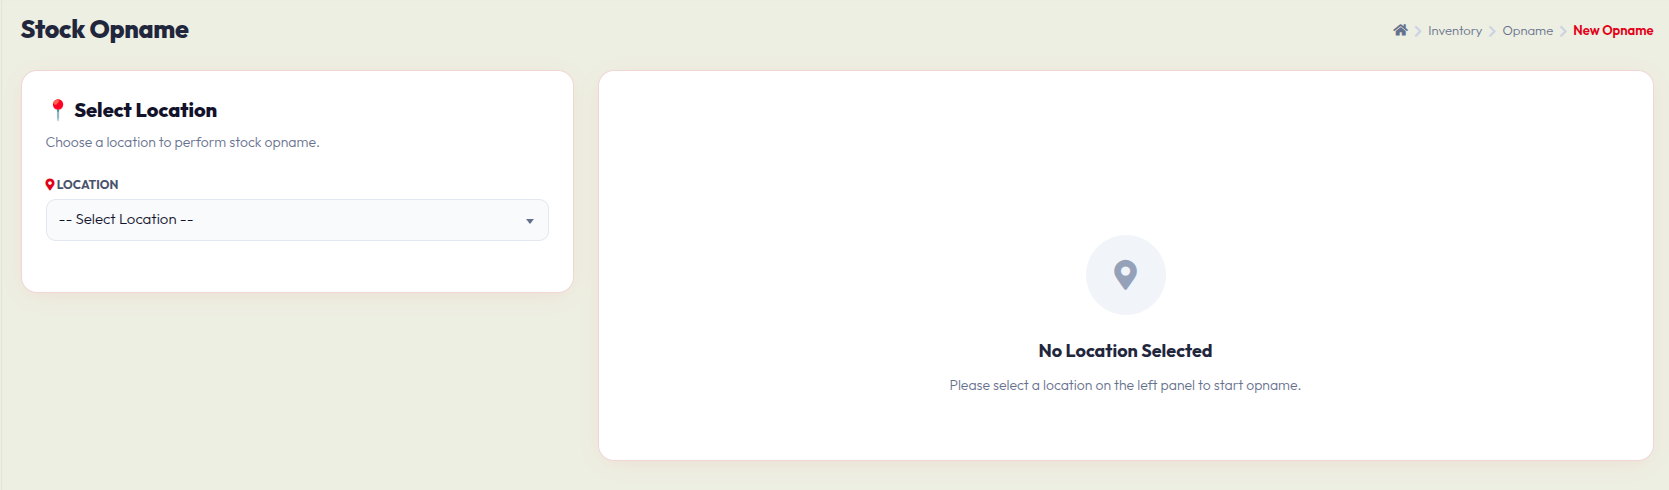
2. Starting a New Opname
After clicking to start a new count, you will be prompted to select where you are doing the inventory check.
- On the left panel, click the Location dropdown.
- Select the specific storage area you want to audit (e.g., "Chiller" or "Gudang Utama").
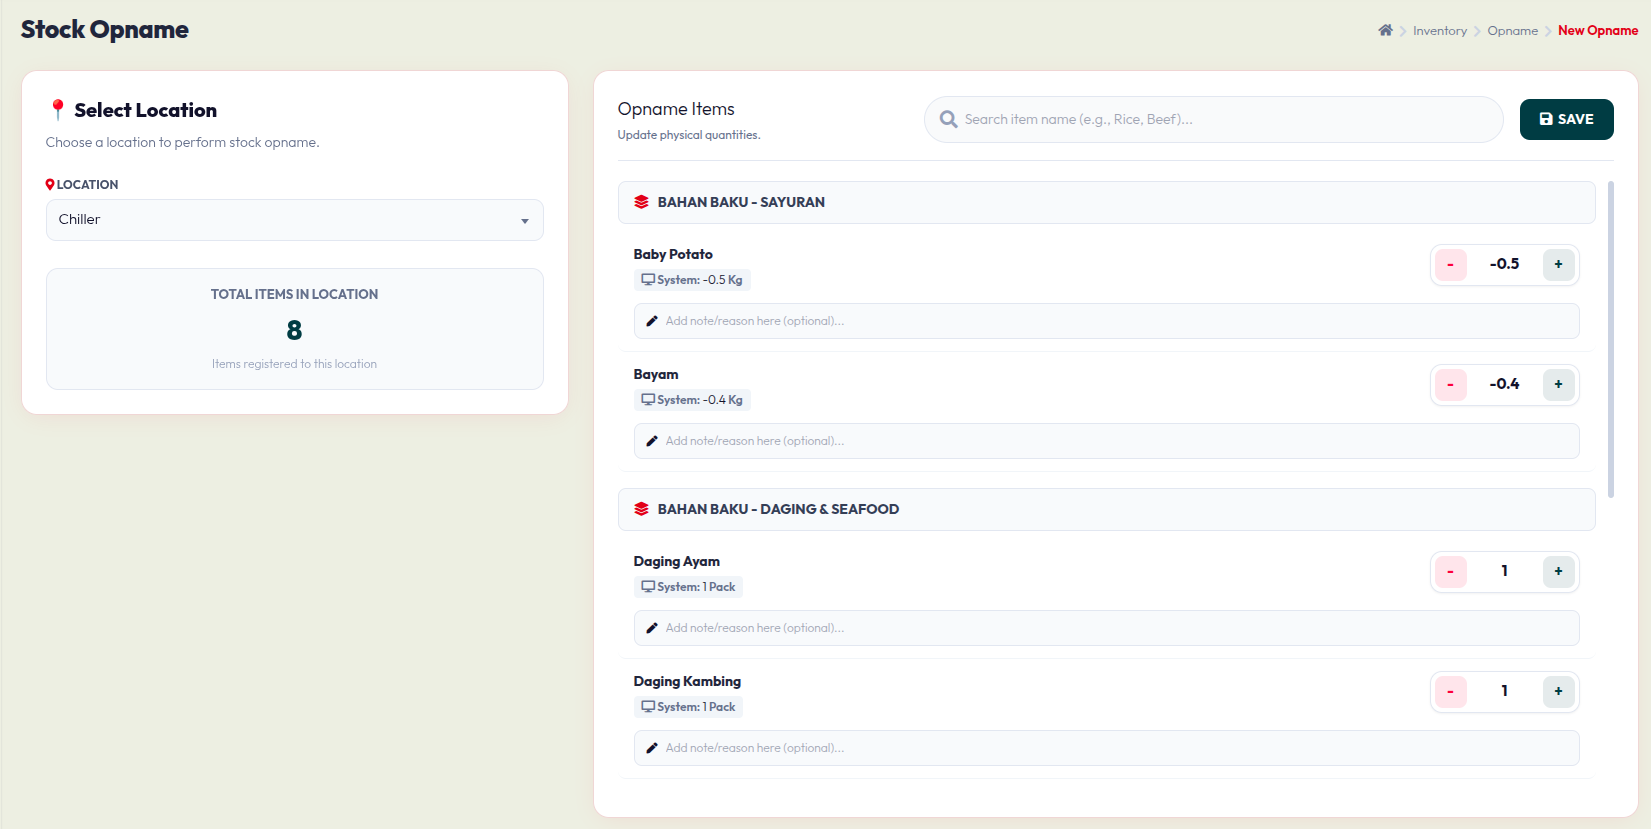
3. Updating Physical Quantities
Once a location is selected, the right panel will populate with all the items currently registered to that area, grouped by category.
- Check System Stock: Below each item name, you will see the System quantity (what the software thinks you have).
- Input Physical Count: Count the actual items in your storage. Use the red - (minus) and green + (plus) buttons, or type the number directly, to enter the real physical quantity.
- Add Notes: If there is a discrepancy (e.g., stock is missing or damaged), use the Add note/reason here field to document why.
- Save: Once all items have been counted and updated, click the SAVE button at the top right to adjust your system inventory permanently.